Hi guys,
This is an interesting project. I couldn't stop myself from posting. I'm posting it in WIP stage itself :-p
Material list:
Found objects: Oral-B brush protective cap(it has a open at the back and a small cut at the bottom)
4 paper clips
deodorant cap
ear ring stopper, metal part not required. We can use plastic ones.
an empty pencil lead box
Any strong card or cardboard
Glue
toothpick
Cutting pliers
tweezers
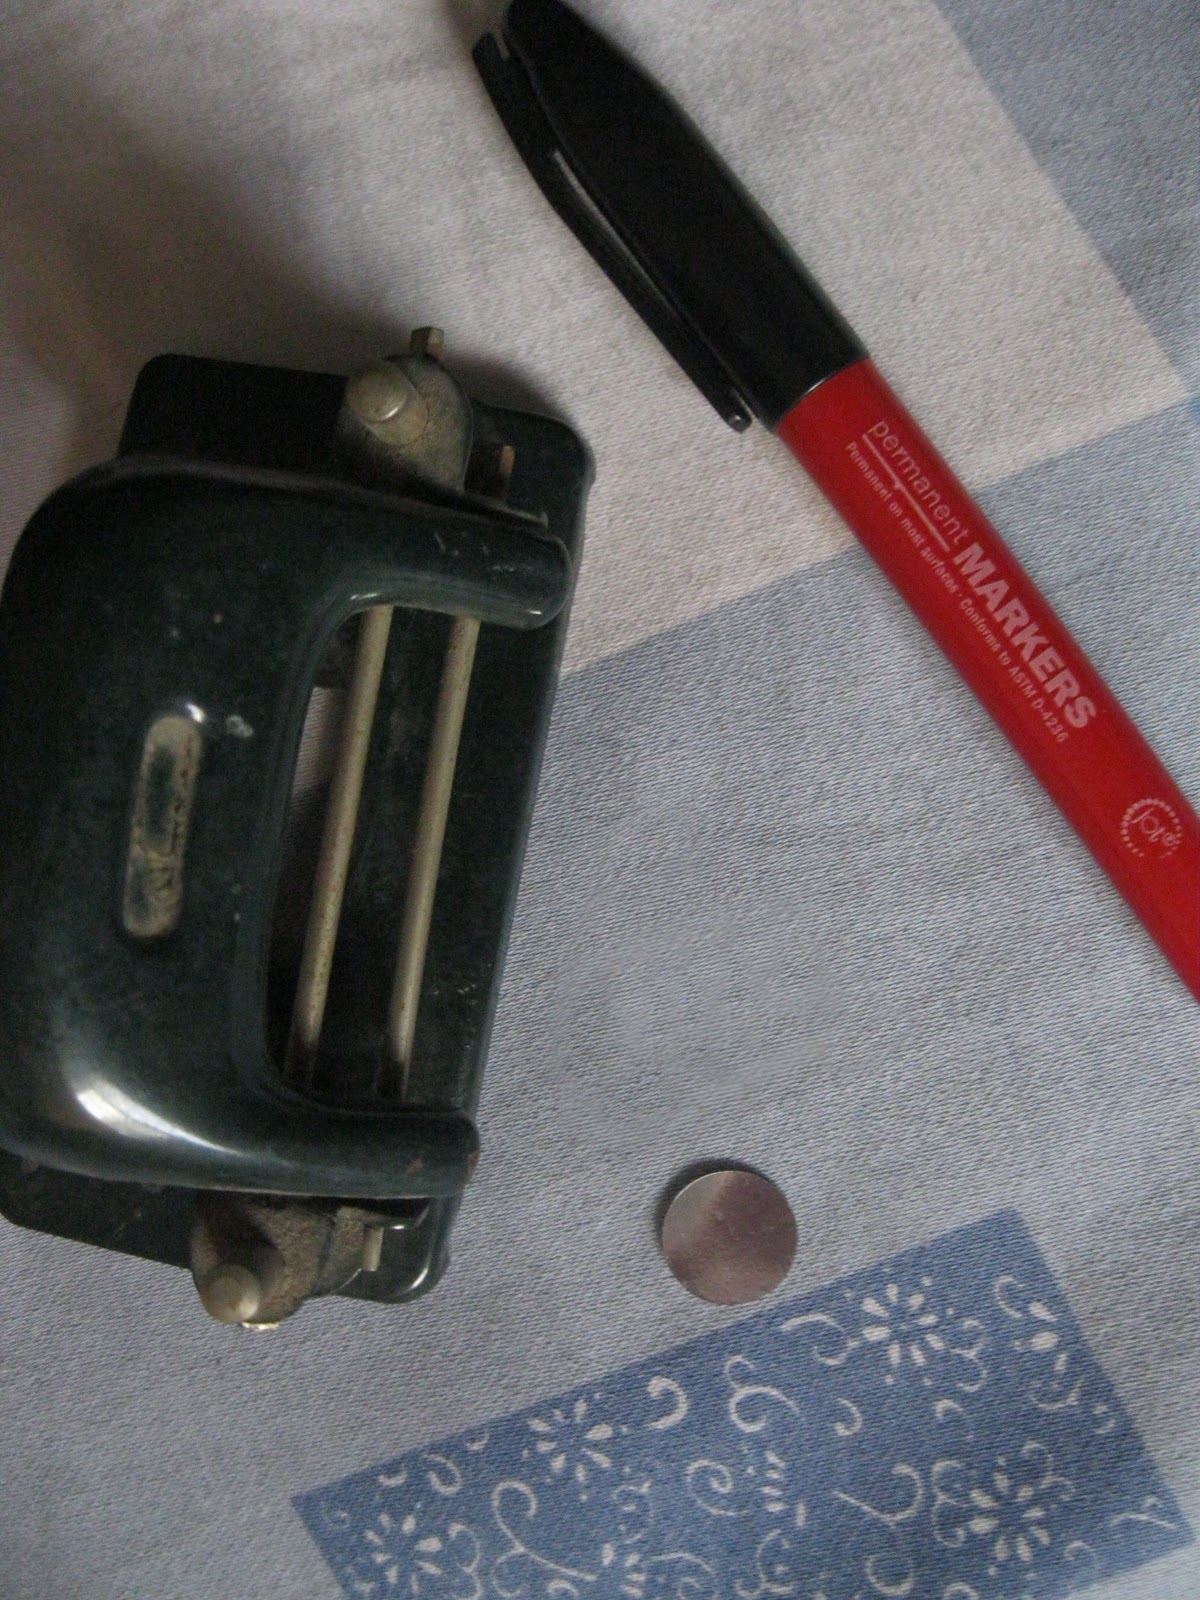
marker
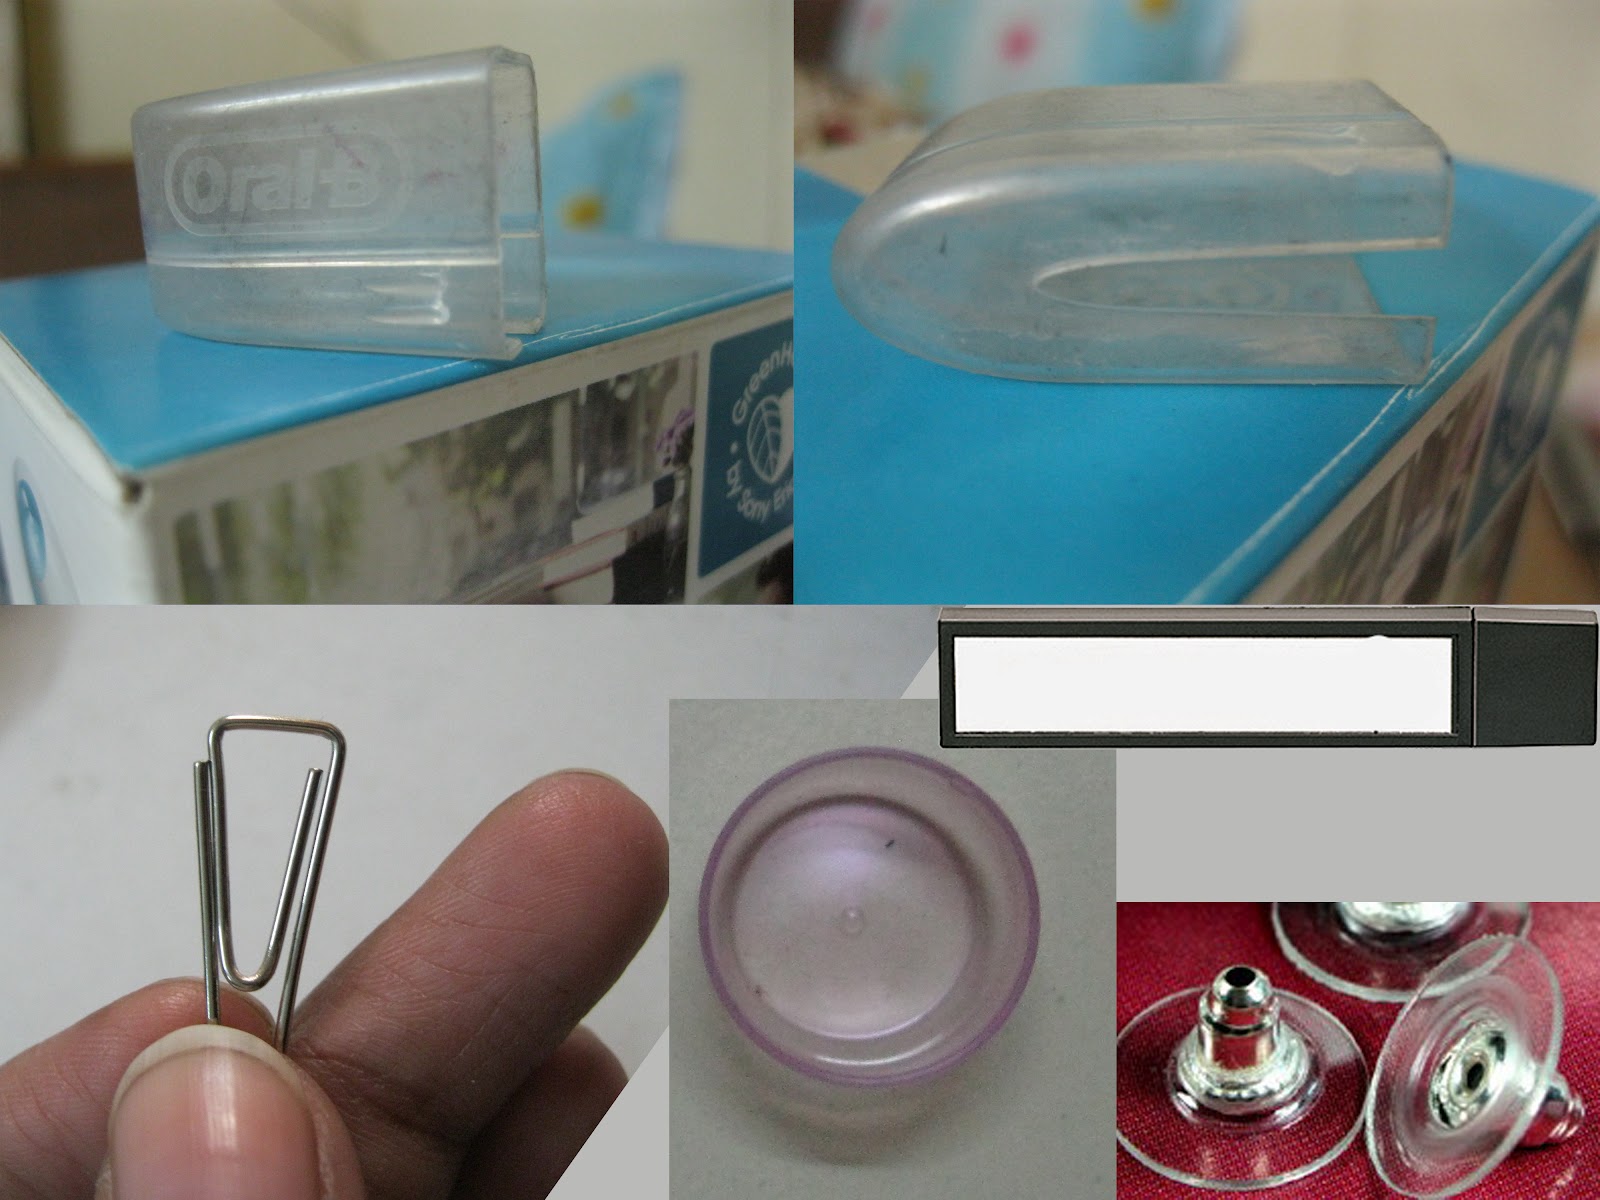
Using cutting pliers, cut paper clip as shown in img below. We will be using left side part. Make four like this.

Glue these four metal pieces as in img below.

Now remove the metal part from earring stopper or else use a plastic stopper. I used plastic one. Now apply glue on top and stick it to the metal pins as in img.


Now slide that into the oral-b brush cap and glue it firmly. Now remove the cap and cut the top part of pencil lead box , it will be of the size of your finger. Now insert gum tape into the box opening and onto the brush cap as in img below, to make a flexible head.

Now glue this onto the card or any base firmly.

Now insert the deodorant cap by lifting the flexible head of the processor.

Hope you liked it. Njoy :-)